This is about the recent desktop build I did. Wanted to be able to use it to create a virtual environment in VirtualBox from Oracle. I built it using the most amount of RAM I could afford. I decided to use a full tower so that I had enough room to work. Below is the part list used for the build.
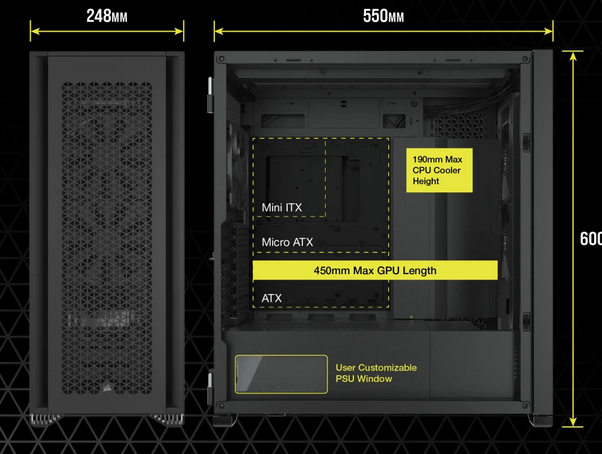
- Tower – Corsair 7000D Airflow Full Tower
- Motherboard – ASRock X870E Taichi
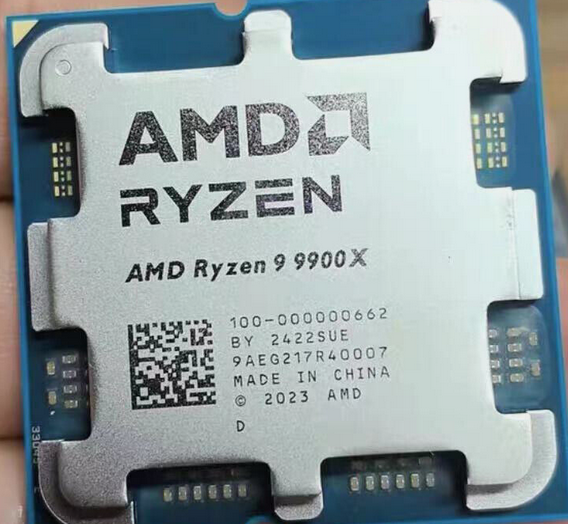
- CPU – AMD Ryzen 9 9900X 12-Core Processor
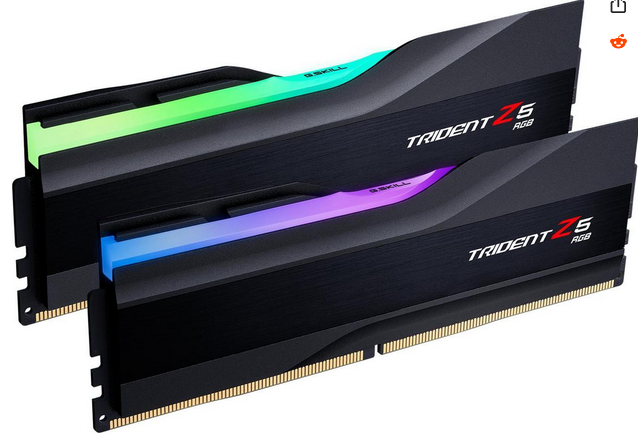
- RAM – G.Skill Trident 96G 2X D5 6400 192 GB total
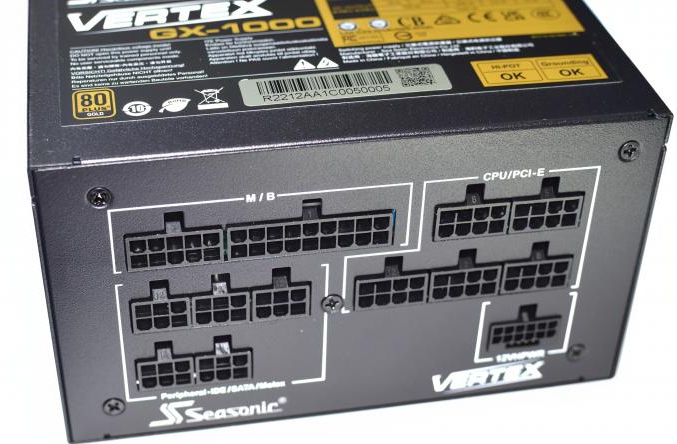
- Power Supply – Seasonic Vertex GX1000 1200Watt
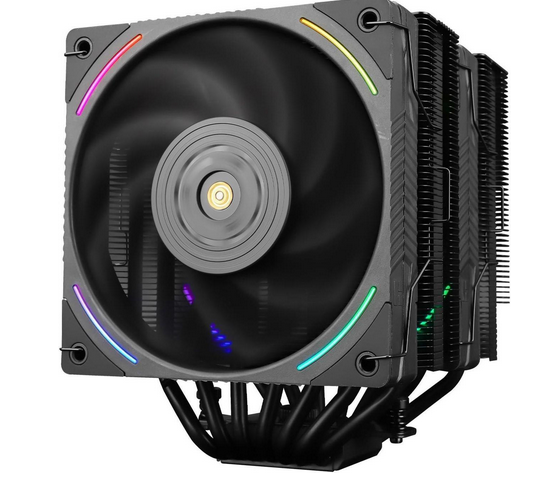
- Heatsink – Thermalright Phanton Spirit 120
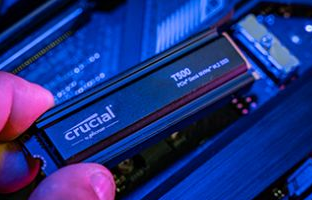
- SSD – Crucial T500 1TB PCIe Gen4 NVMe M.2 SSD
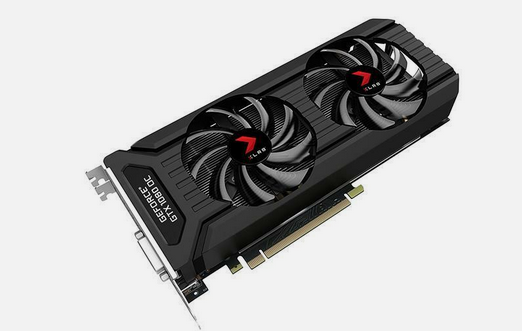
- Graphics Card – NVIDIA GeForce GTX 1080 from old desktop
- Hard Drive – Seagate BarraCuda 3.5 HDD from old desktop
Building the desktop, I did not have any issues and was able to get it to boot to BIOS on first boot. Below I will describe the process of how I installed all the parts.
- I opened everything up and put the equipment on the table.
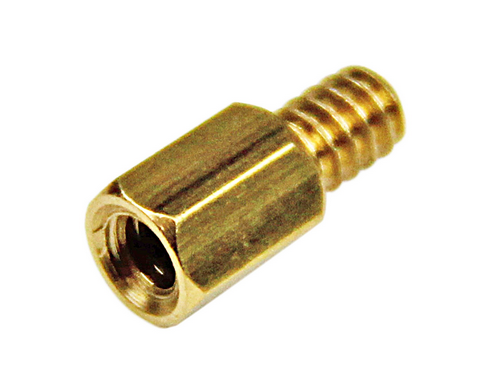
- I installed the motherboard making sure that all the standoffs were in the correct position on the tower. The motherboard form factor was an Extended ATX (E-ATX). The standoffs are to keep the motherboard from touching the tower case. Picture of motherboard, tower, and standoff below.
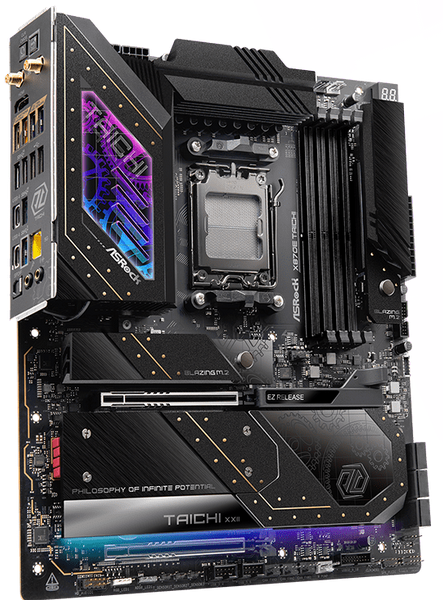
- After the motherboard was installed, I installed the CPU. This is the most difficult part, It’s not hard but expensive if you screw it up. First open the motherboards socket and put lever at 90 degrees. Find the arrow on the socket and find the arrow on the CPU THESE MUST MATCH UP WHEN YOU PUT CPU IN SOCKET. It needs to be put in gently so that you don’t mess up the pins. Once you confirm the CPU is in place, lower the arm for socket lever. Below is picture of CPU and motherboard socket.

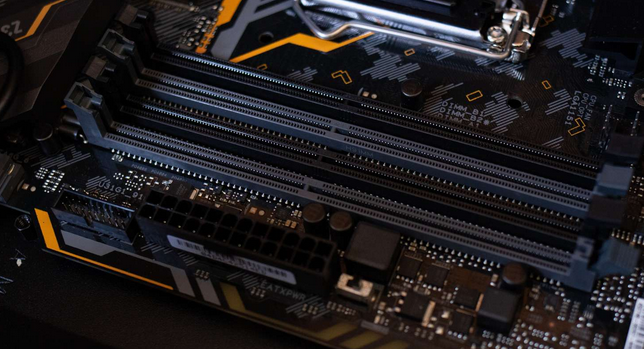
- Once the CPU was in, I put in the RAM. I put the RAM in next because if gave me more room to work since the heatsink wasn’t in the way, I was installing all four, so I didn’t need to worry which slot they went into. If only using two sticks of RAM then follow motherboard instructions on which slots to use. Below is picture of RAM and slots on motherboard for the RAM.
- The next step was to attach the heatsink. Just follow the instructions that came with the heatsink. Below is picture of heatsink.
- After the heatsink was installed, I installed the SSD. This involved taking the cover off the slot and connecting the SSD. Picture below shows the SSD.
- I then installed the power supply unit and connected all the power cables. Refer to the motherboard instructions on connecting the cables from the tower to the motherboard.
- The last equipment install I did was install the graphics card. After it was installed, I plugged in the power cable for it.
- My motherboard came with an option to Fast BIOS Flashing. So, I went to motherboards website and followed the instructions on how to flash the BIOS. After that was I was able to boot the machine and BIOS loaded.